Welcome to
CAJUNWOLF.COM
Modding and Mapping Resources for the Battlefield FPS Gaming Series
SamplesMaker
A tutorial by Cajunwolf
Samplesmaker is a program by Frederick "Coincoin" Taillon, the man who brought us Editor42. It's use is for making *.samples files for custom static objects so that they can be lightmapped. Of course You can get much better lighmaps by using 3DMax, but this program is targeted to those to whom the cost of such software is prohibitive. Even if one could aquire Max, or other such software, these programs are geared more to professionals, besides the time it takes to learn how to do lightmapping with such software. Remember you only need this for custom statics, you don't often have that many, and EA-Dice has created the samples files for all of the standard bf42 (and bfv) objects for you. When you installed Battlecraft you might or might not have installed these files, or you downloaded them from other sources. In either case these are the samples files for the stock bf1942, or BFV Statics (which ever game version you are working with), and you are going to have to have them in order to create object lightmaps for the the static objects used in your maps, standard or custom. This directory is called StandardMesh and is located in the Battlefield root directory. This tool will allow you to make your own lightmap samples files for your custom objects without having to use expensive software like Max.
There are three sizes of samples you can make, small (128), medium (256), and large (512). The difference is the detail or quality of the lightmap. Dweller_Benthose also wrote a tutorial on samplesmaker back about the time I first wrote the original of this one, and had tested what the real difference was in quality vs size. He found that there is a significant difference between small and medium, but not so much between medium and large. I always do large, but if space is an issue medium would be the way to go. Now of course you wouldn't for instance use large on something like the hospitle stairs, nor would you need high detail lightmaps on a static structures with no interiors placed in the map where no one would really go near either. You have to remember that the large samples files also produce large TGA lightmaps which will make your map larger. Just some things to keep in mind. It is very important to note here that the custom static objects standardMesh must contain valid lightmaps coordinates, else, either SamplesMaker will crash or will generate an invalid .samples file. This is a fairly simple program to use but you have to run it from the command prompt or as a batch file. For those of you who get nervous about doing this, never fear, as I will show you step by step. First a little info for those of you new to the concept of object lightmaps, so read on.
Ok like we said these files are used by the Battlecraft editors and the Battlefield game engine to raytrace the object lightmaps for the structures in the map. Some of you might ask "what are objectlightmaps"? Well in Battlefield 1942 & Vietnam, they are used to create shadows and light areas where the sun (light source) would strike the static objects in the map. In other words it gives the map a more realistic look by, for instance casting a shadow a tree might make on the side of a building, depending on its position between the building and the sun along with time of day (sun angle). How a beam of light comes through a window and lights an area it strikes on the floor, and at the same time the rest of the room is in dark shadow. Let's have a look at one of these "ObjectLightMaps". They are in TGA format and should open in most image editors. Now this important, notice how it is named, "afr_house2_ste_m1_1273-73-256.tga" The "1273-73-256" is the coordinates where this particular "afr_house2_ste_m1" static is located on the map, so therefore you cannot move a static once lightmaps have been created for a map. Now it is possible to rename it to a new location, but this would be silly because the shadow that said static cast on the terrain is still where it was. The terrain shadows are a totally different system, and not covered in the scope of this tutorial. Here is the ObjectLightMap for this particular static.
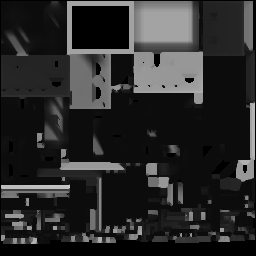
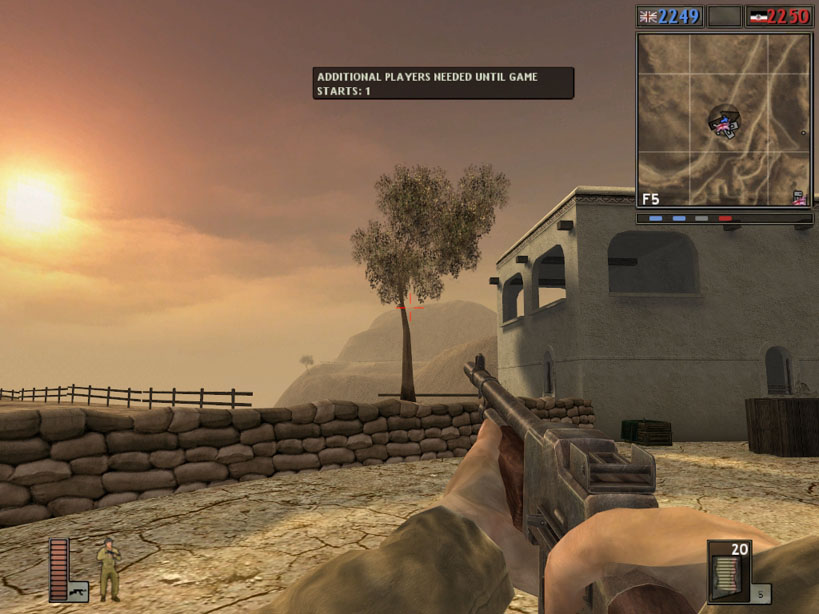
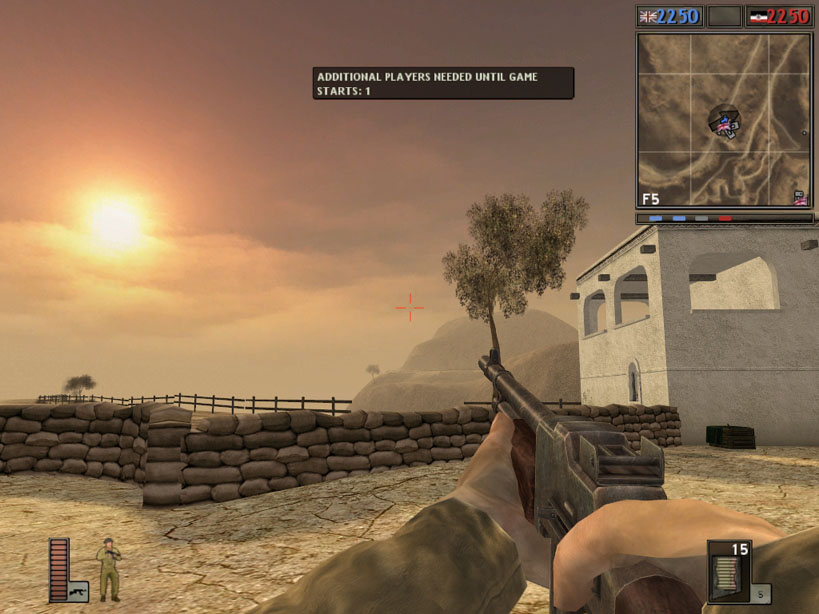
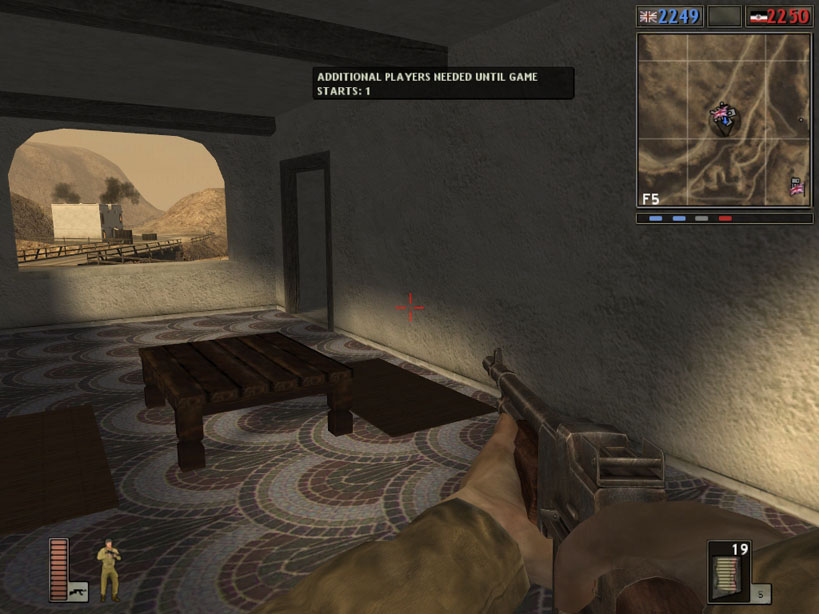
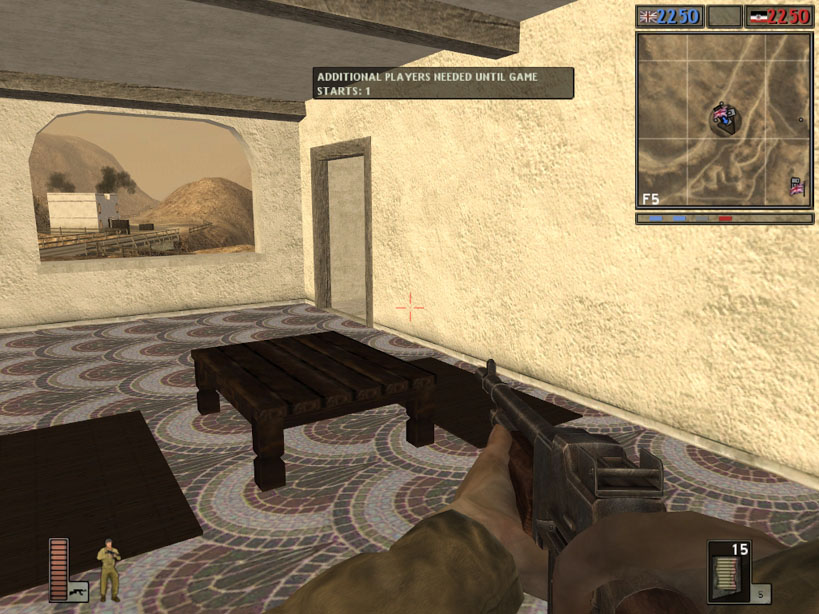
As you can see it's nothing more than a greyscale image that for a simple explanation, is used in conjunction with the statics textures to create the shadow effects. Now next is a series of images of this static from the BF42 map Gazala, and in each pair I have an example of how it looks with lightmaps on and off. This loads in a lightweight lightbox as a slide show so please start with the thumbnail on the left, though you can start with any.


OK, so lets get started. The skill level here is easy, but it would help to know a few basic DOS commands. First you will need SamplesMaker, and you can download it here. Next you will need to extract it in a place convient for you to work. create a seperate directory, but I have it zipped within it's own directory so just extract where you prefer. I suggest the root of the drive (example C:\) because this results in less typing from the command prompt. Ok so here is what you have once extracted and the directory open.
You will note the readme file, and it's fairly clear to someone who is familur with DOS, programming, and knows the buzz words, but a bit intimidating to those who do not live in this geek world, and just want to make a few samples files. The later is who this tutorial is directed towards, and if after you read the readme file you understand the program you may proceed without reading farther. All others can read on and this is basically an enhancement of the instructions in the readme file with more detailed step by step, and addition of visual aids for clairy's sake. Here is the readme text file and I will explain and demostrate each command from a command prompt for you.
Now we need some Static Object StandardMesh files, or the "object_name_M1.sm " files fror the static(s) we want to work with. I have picked 4 from the stock bf42 archives to work with in the example so you can follow my example or if you have some custom objects you want to do, by all means. Now all you need is the .sm files and not the .rs files for each object. They need all need to be in the same directory and it should look like so.
 Now we need to get to a our command shell so we can run the commands required by Samplesmaker to make some lightmaps. There are several ways to do this and I am not going to list them all. One of the basic ways is to go to the Start Button, select run, and type in "cmd" as in the image to the right. My preferred method is from the right click context menu and select "Command Prompt", but I am running XP pro x64 in these exaamples. There is a power toy tweak for x32 XP called cmd here" that will do it also. Below is how it looks on my system when I right click on the folder called samples (where I extracted Samplesmaker).
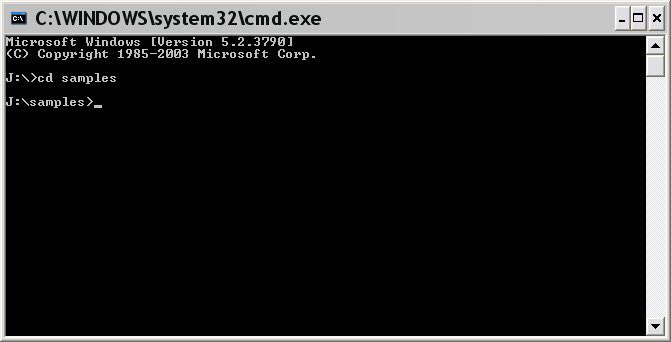
Which ever way you get there the following is what we want. The command shell window in all it's simple glory. In the example it has opened on my J: drive which is where I do all of this work on this machine. Everybody will have a different setup, but the process is the same. Now I need to navigate to the directory where I extracted Samplesmaker, and I named it "samples" for convience.

Now to do this we are going to use the DOS command "cd" which, as you might guess means "change directory". the command syntax is simple "cd directory_name" where directory_name is replace by the name of the directory your changing to, as demostarated in the following image. Some of you might understand now why I suggested to extract Samplesmaker to a drives root or base directory as I have done here. If you didn't follow my advice, and extracted somewhere like downloads in My Documents, your finding you have to do a lot of typing in the form of a directory path to the file now aren't you? Learning by example is always the best way I say.
Ok now we are in the samples directory on on my J:\ drive. While we are at it, and for kicks and giggles being this is useful here, let me show you another command called "dir". This will display the contents of the directory you are in. The following two images are an example of the commands use.
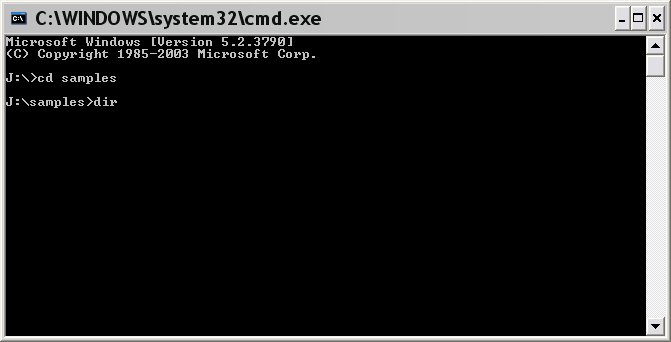
Here we simply type dir and hit the enter key, ...
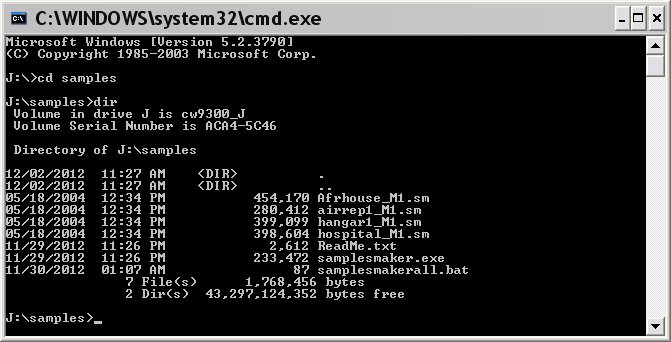
... it displays contents of the directory and it's information. Now you will see me use this command again, perhaps seeing where DOS can still be a useful, and nothing to be intimidated about.
Now back to Samples maker. Lets look at the first command and it's syntax to create a single samples files with options of size and output name. I also want to take a moment to discuss this one, and in particular the option of a output name that's different from the input name. First the full syntax of the command ...
samplesmaker size inputname [outputname]
Now if I wanted to make a large sample file for the Afrhouse_M1.sm with the output name the same as input I would type the following omitting the output names as it is an option indecated by the double [] brackets. Also remember as per instructions in the readme file we leave off the file extension (the ".sm").
samplesmaker large Afrhouse_M1
...